Mastering the Art of Time-Lapse Video Creation
In today’s fast-paced visual world, the ability to make video time lapse has become an essential skill for photographers and videographers alike. Whether you are capturing the hustle and bustle of city life or the gradual changes in nature, time-lapse photography transforms ordinary scenes into captivating stories that can effectively engage your audience. In this comprehensive guide, we will explore the techniques, tools, and creativity behind stunning time-lapse videos, ensuring you have everything you need to take your photography to the next level.
Understanding Time-Lapse Photography
Time-lapse photography is a powerful technique that enables the viewer to see events that unfold over time in a compressed format. By taking a series of photos at set intervals, which are then played back at a higher speed, you can reveal the beauty of transformation in a variety of settings. This technique can be applied across numerous fields, especially in real estate photography, where showcasing property changes over time can enhance listings significantly.
What is Time-Lapse Video?
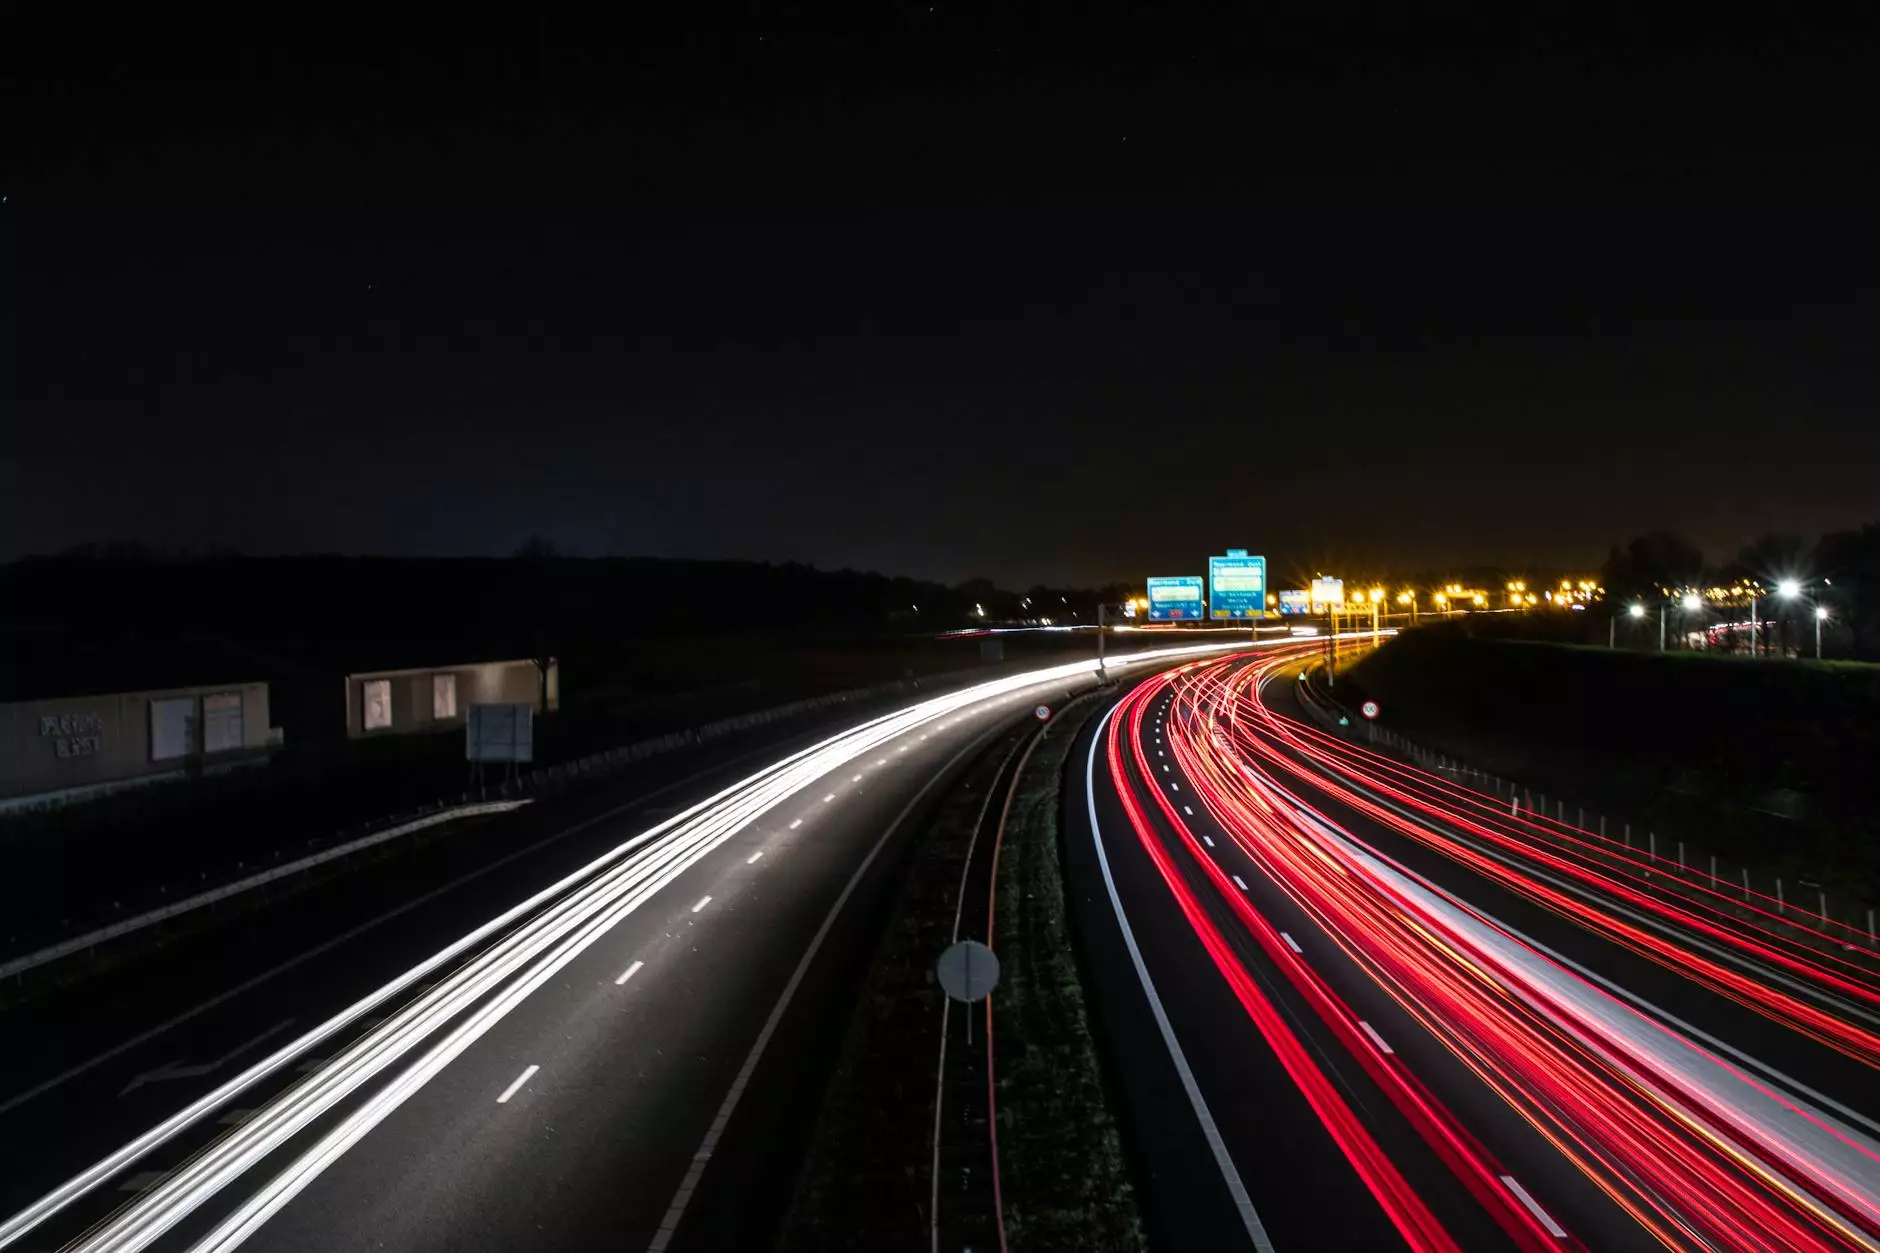
A time-lapse video consists of a sequence of video images taken at set intervals to record changes that take place slowly over time. When played at normal speed, time appears to be moving faster, and thus, it creates a unique viewing experience. For example, witnessing a flower bloom in a few seconds or clouds racing across the sky can mesmerize audiences.
Applications of Time-Lapse Videos
- Real Estate Photography: Highlight property renovations, staging, or landscaping transformations.
- Event Coverage: Capture the buildup to an event or the changing atmosphere over time.
- Nature Documentaries: Showcase seasonal transitions or natural phenomena, such as sunsets and weather patterns.
- Artistic Projects: Allow for creative expression by capturing the creation of artwork or installations over time.
How to Make a Stunning Time-Lapse Video
Creating a stunning time-lapse video involves strategic planning and the right equipment. Below are the essential steps to consider when embarking on this creative journey.
Step 1: Planning Your Shoot
Before capturing your time-lapse footage, it’s crucial to plan your shoot meticulously. Consider the following:
- Subject Matter: Choose a subject that will display significant change over time. This could be a natural landscape, busy urban areas, or the transitions of light during sunrise or sunset.
- Location: Select a spot that provides a clear and unobstructed view of your subject. Ensure you will have access to this location throughout the duration of your shoot.
- Timing: Think about the best time to shoot. Early mornings or late afternoons often yield dramatic lighting perfect for time-lapse videos.
Step 2: Choose the Right Equipment
To achieve mesmerizing time-lapse footage, you need the right gear. Here are the essentials:
- Camera: A DSLR or mirrorless camera is ideal. Many modern smartphones also feature time-lapse modes.
- Tripod: Stability is key. A sturdy tripod will prevent camera shake and ensure consistent framing.
- Intervalometer: This device allows your camera to shoot at set intervals automatically. Some cameras come equipped with this feature.
- Editing Software: Post-production plays a critical role in creating a polished time-lapse video. Use software like Adobe Premiere Pro, Final Cut Pro, or specialized programs for time-lapse editing.
Step 3: Setting Up Your Camera
Once you’ve gathered your equipment, it’s time to set up your camera:
- Frame your Shot: Carefully compose your shot. Use the rule of thirds for a balanced view.
- Focus: Set your camera to manual focus to prevent it from shifting while shooting.
- ISO and Aperture: Adjust these settings to account for the lighting conditions. A lower ISO (100-400) with a suitable aperture (f/8 to f/16) will generally yield good results.
- Interval Settings: Depending on your subject, set your interval (e.g., every 1 second or 5 seconds). Faster-moving subjects require shorter intervals.
Step 4: Capture and Monitor
With everything set, it’s time to start capturing your time-lapse video:
- Start Shooting: Begin capturing images based on your interval settings. Ensure you monitor the exposure and framing during the shoot.
- Be Patient: Some scenes require long shooting times—either hours or days. Remain patient and give your subject time to transform.
- Check Regularly: Periodically check on your camera to ensure everything is running smoothly.
Step 5: Post-Production Editing
Once you’ve completed your shoot, it's time to bring your time-lapse to life through editing:
- Import Footage: Transfer your images to your editing software.
- Set Frame Rate: Choose the frame rate for your video, which typically ranges from 24 to 30 frames per second (fps).
- Sequence Your Images: Arrange your images in the desired order, applying any necessary transitions.
- Add Soundtrack: Enhance your video with background music or sound effects to create a more immersive experience.
- Export Your Video: Once you’re satisfied, export your time-lapse video and prepare it for sharing.
Enhancing Your Time-Lapse Video
To further enrich your time-lapse videos, consider the following techniques:
- Motion: Incorporate panning or tilting while shooting to add depth and dynamism to your video.
- Overlay Text: Use text overlays to provide context or narratives for your audience.
- Use Color Grading: Adjust the colors in post-production to match the mood you are trying to convey.
- Experiment with Speed: Play with the speed of your video during editing for creative effects.
Popular Software for Creating Time-Lapse Videos
Many software options are available for editing and creating time-lapse videos. Here are some of the most popular tools:
- Adobe Premiere Pro: A professional-grade video editing software with extensive features for time-lapse creation.
- Final Cut Pro: This Mac-exclusive software offers powerful editing capabilities and seamless time-lapse integration.
- LRTimelapse: Specifically designed for time-lapse photography, it provides advanced tools for keyframing and editing.
- Timelapse Assembler: A user-friendly application for stitching together a series of images into a time-lapse video.
- iMovie: For those new to video editing, iMovie is a simple choice for basic time-lapse projects.
Conclusion: The Future of Time-Lapse Video in Business
Incorporating time-lapse video into your business strategy provides numerous avenues for creative expression and storytelling. As a professional in the field of photography, mastering the ability to make video time lapse is not merely a technical skill—it’s an artistic endeavor that can significantly enhance your portfolio.
Whether you work in real estate photography, creative advertising, or content creation, time-lapse videos offer a unique perspective that can attract potential clients and engage existing ones. As you continue to develop your skills, remember that the key to exceptional time-lapse photography lies in careful planning, meticulous execution, and creative post-production.
So grab your camera, find an inspiring subject, and start creating your time-lapse masterpiece today. Your audience is waiting to embark on a fascinating journey through time with you!